# Department
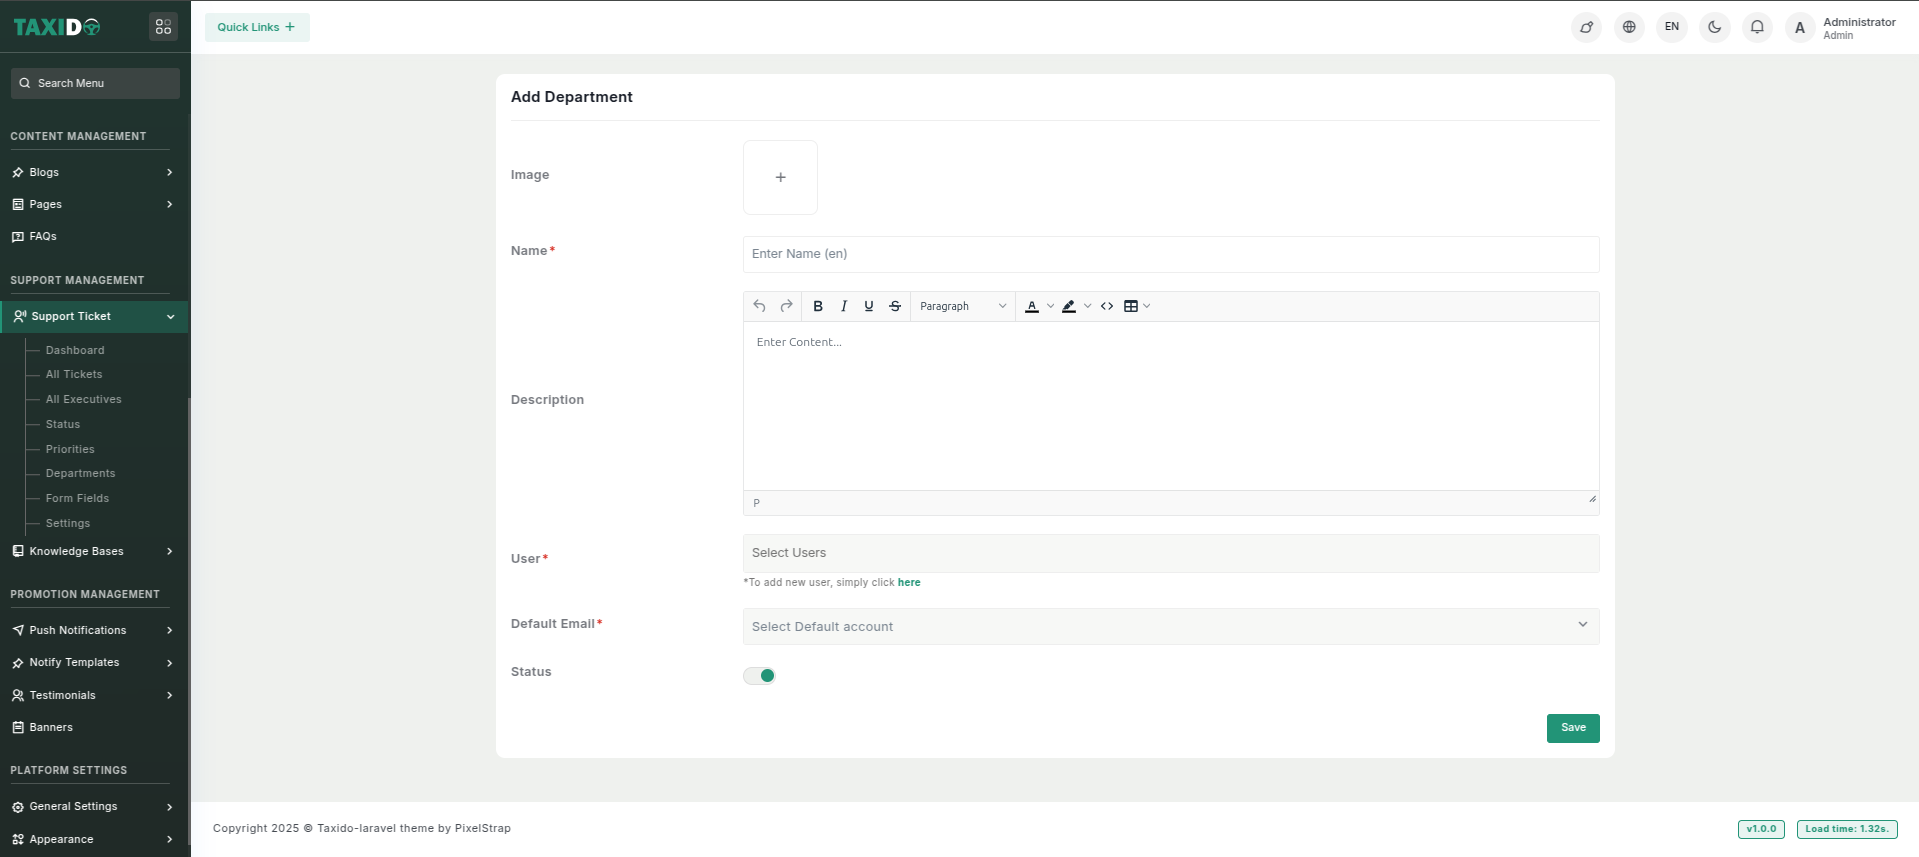
### **Add Department**
**How to add the Department ?**
1. Navigate to the "Support Management" section.
2. Click on the "Department".
3. Click on "Add New" for creating a department
4. Fill out the details, which may include:
* **Image:** Upload an image representing the department. This image will be used in the system to visually identify the department.
* **Name:** Enter the name of the department.
* **Description:** Here, you can provide a detailed description of your department.
* **User:** Select the users which will be in particular department.
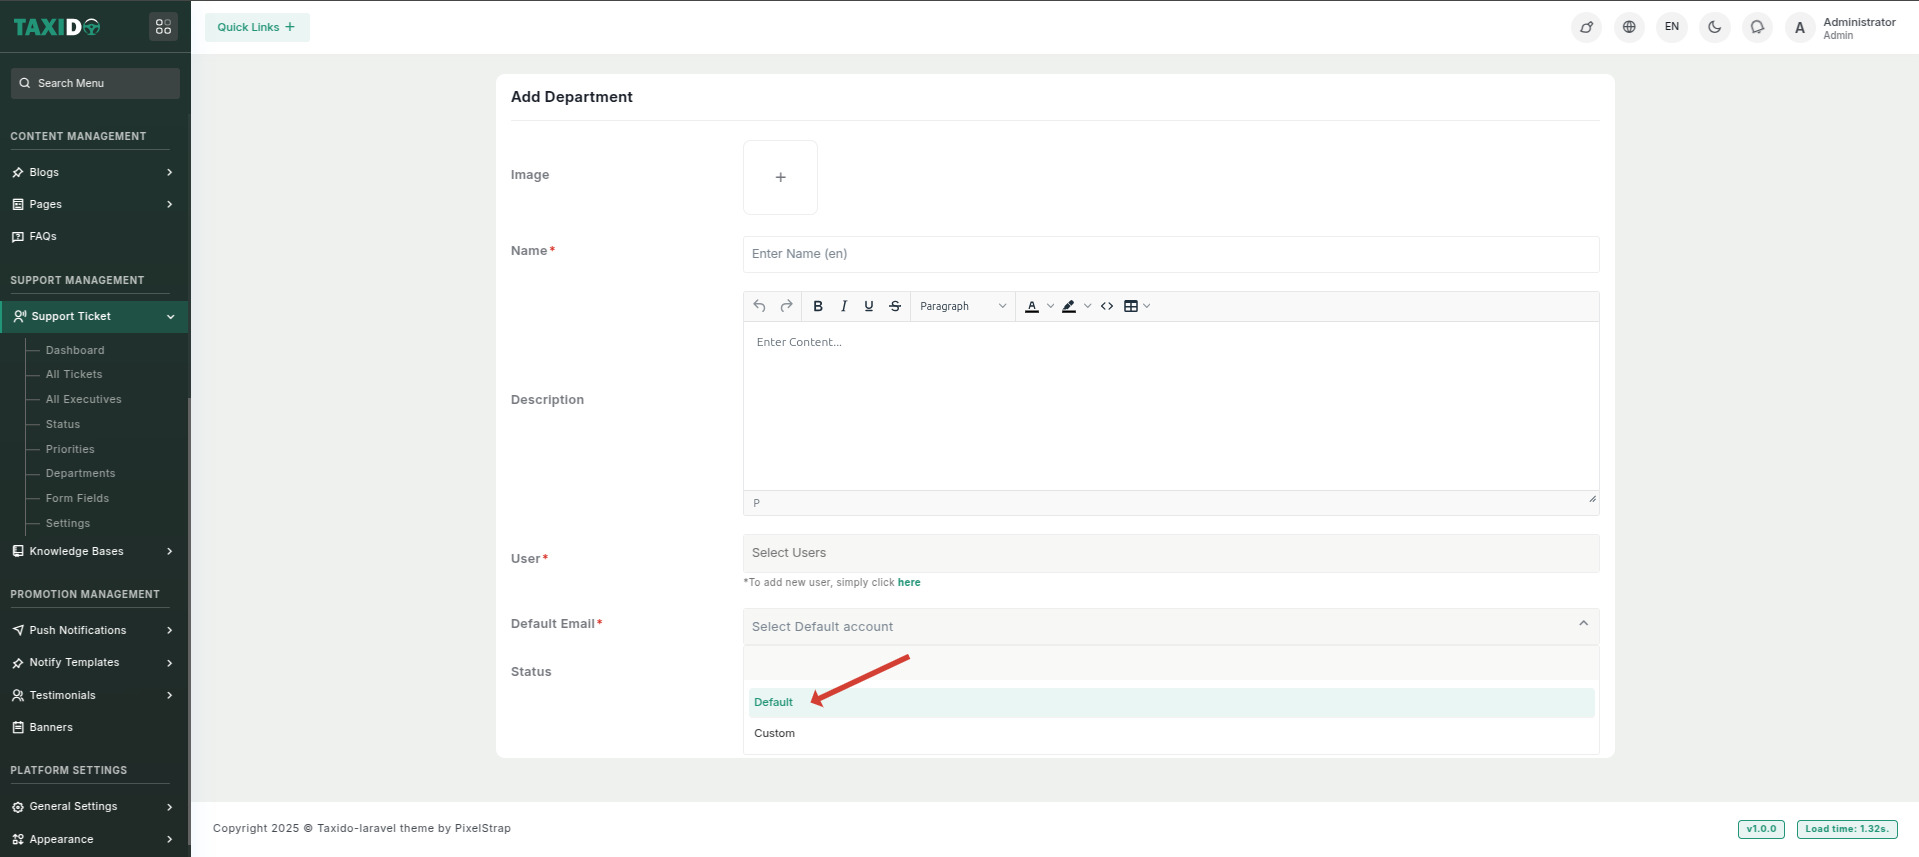
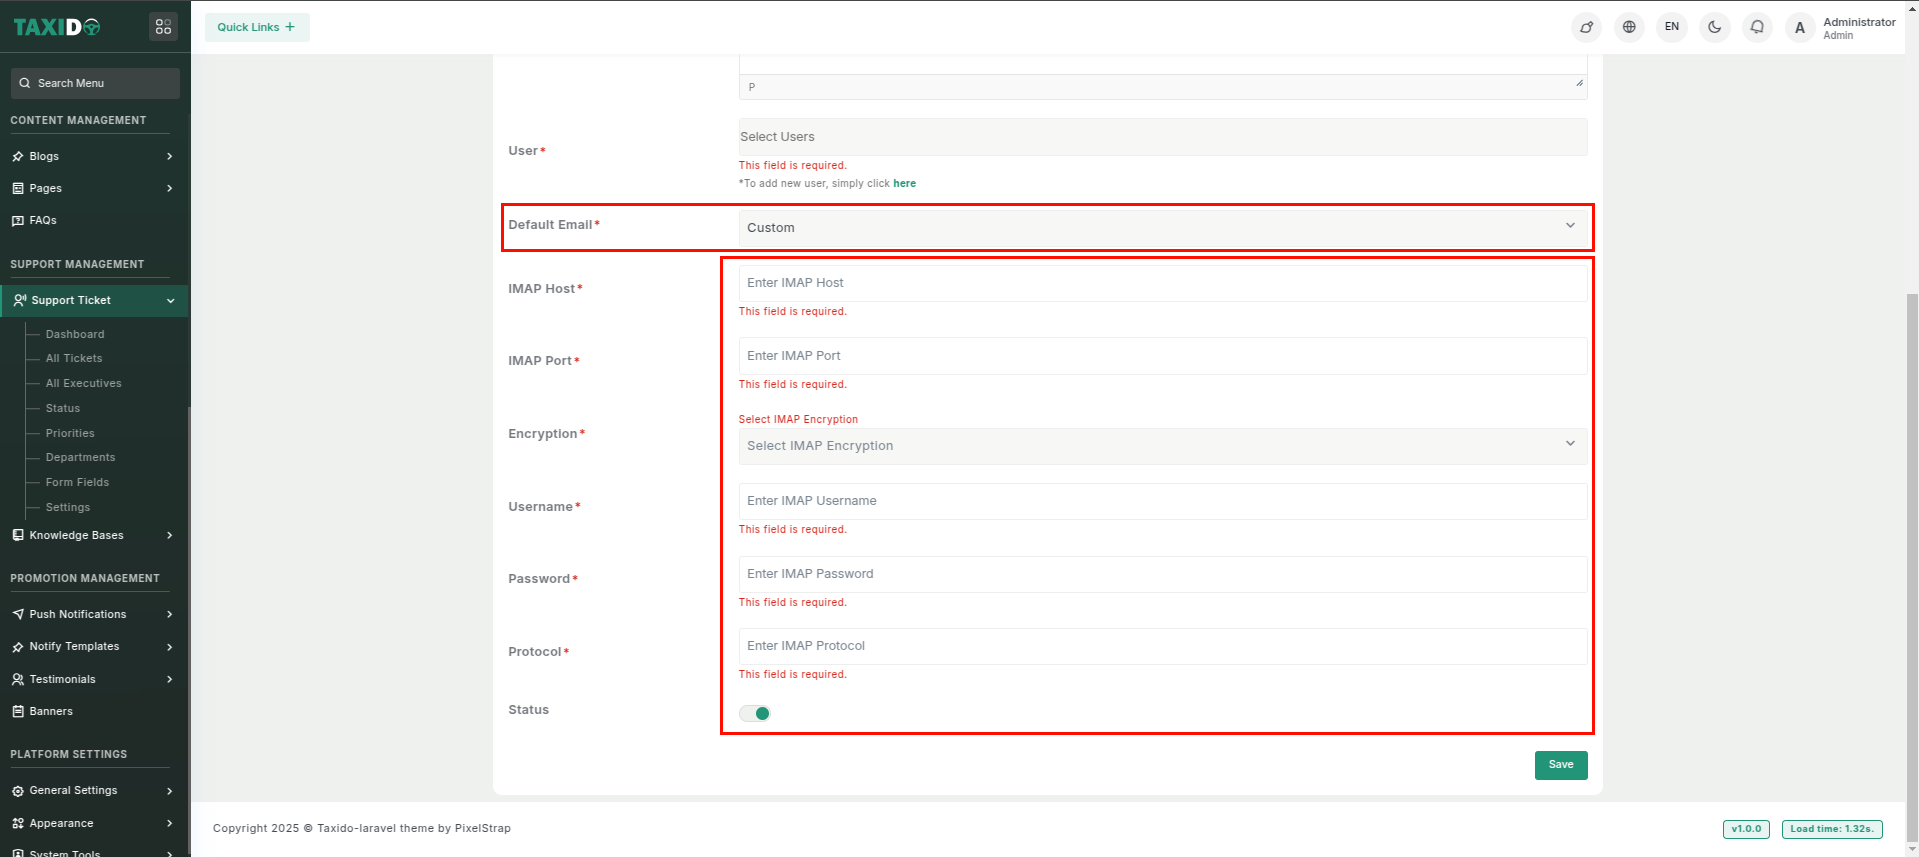
* **Default Email:** Select the default email option to use the system’s pre-configured email settings for fetching department-wise tickets. If you choose 'Custom,' you’ll need to enter your own email configuration for this department.
* **Status:** Set the status to either "Active" or "Inactive." If the status is "Active," this department is available storing ticket department wise. If "Inactive," it will not be available for use.
**How to edit the Department ?**
1. Go to the Departments.
2. Find the department you want to edit and click the Edit button from the Action Column.
3. Make your changes and click on the "Save" button.