# SOS
### I**ntroduction**
The **SOS** feature allows the admin to configure emergency contact details for different zones. When a rider or driver presses the SOS button, the app will use these details to trigger emergency assistance.
#### Navigate to SOS:
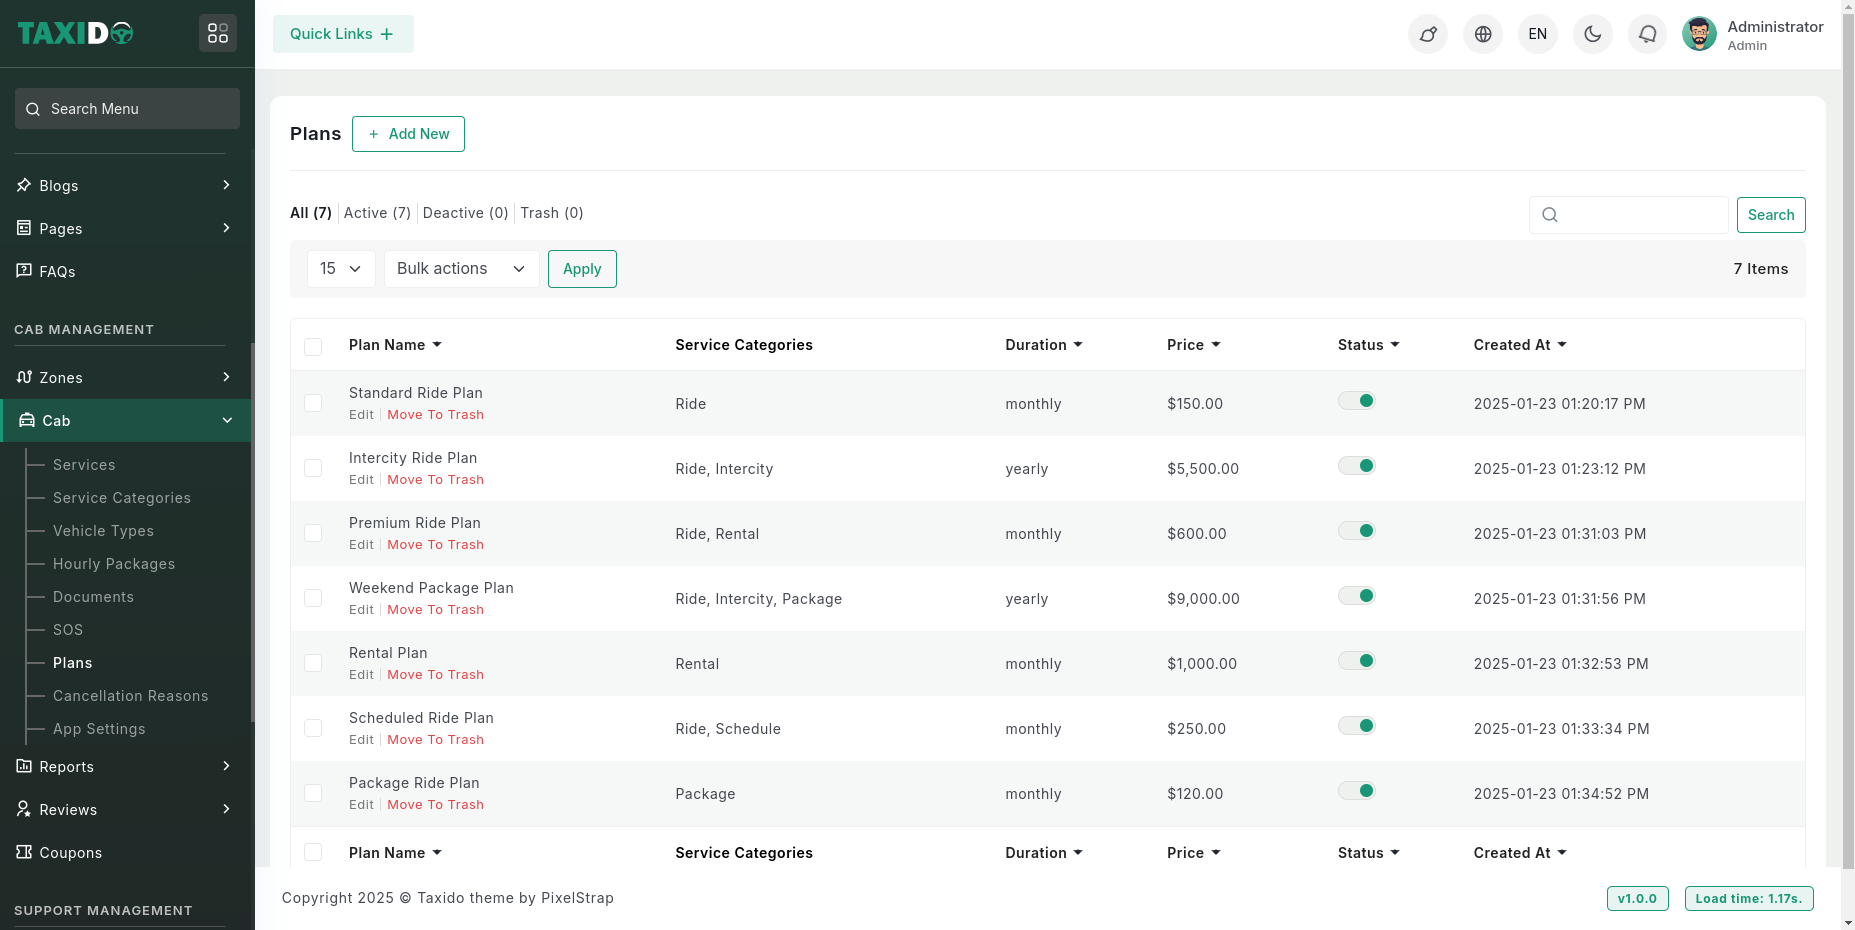
On the admin sidebar, find and click on the Plans which available on "Cab Management".
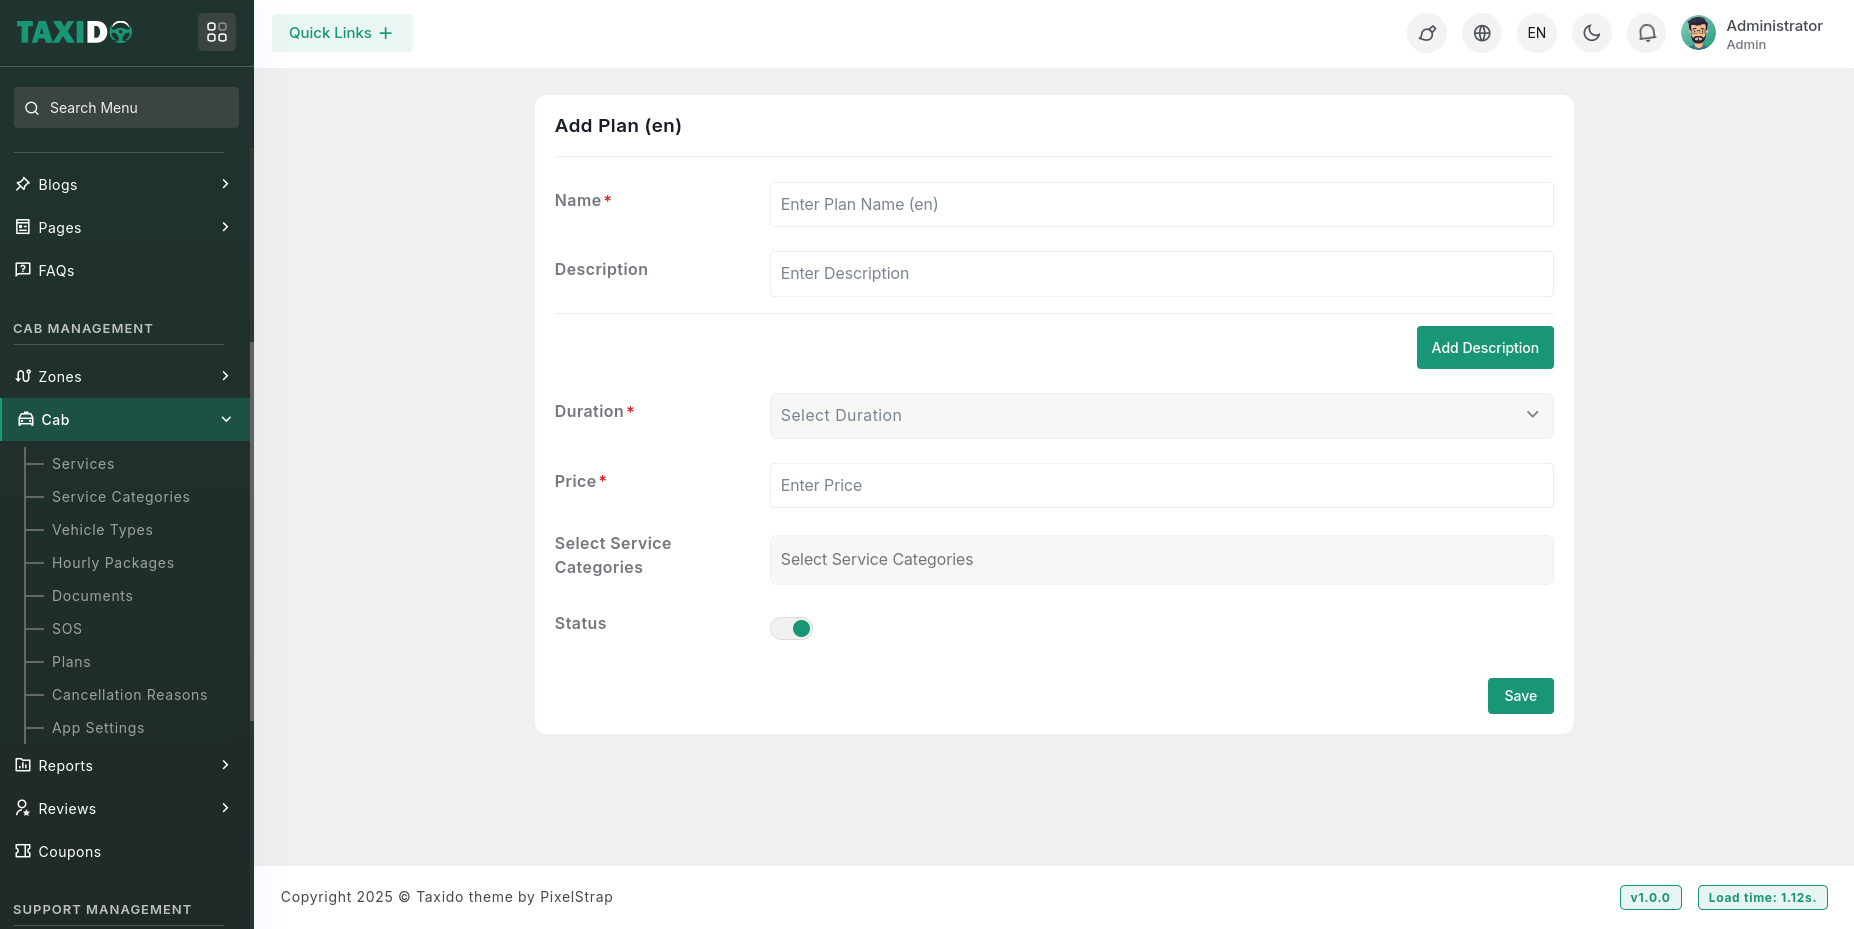
**Add New:** Click on the "Add New SOS" button to create a new emergency entry.
**Fill in the required details for the Plan:**
**SOS Image:** Upload an image or icon representing the SOS contact.
**Title:** Enter a title (e.g., Police, Ambulance) — supports multiple languages.
**Phone:** Add the emergency phone number that will be called when the SOS is triggered.
**Zones:** Assign the SOS to one or more zones. The SOS will only be available in the selected zones.\
\
**Status:** Set the status as "Active" to make the SOS available in the app, or "Inactive" to disable it.
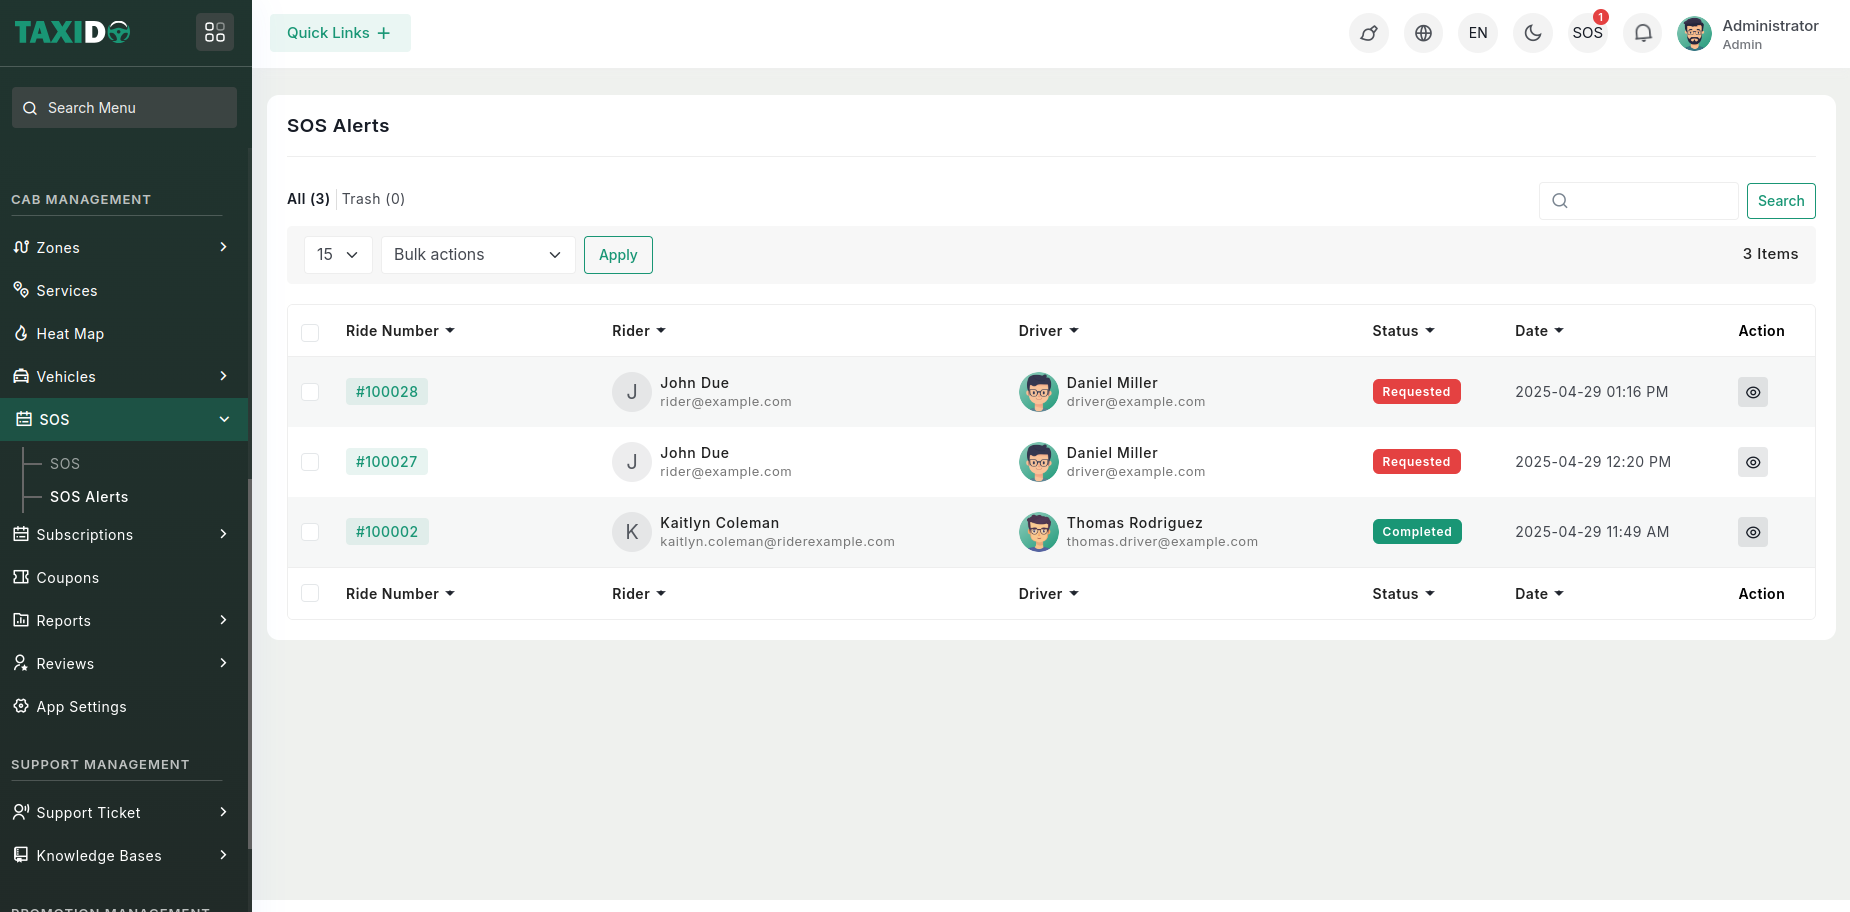
**Rider Name:** Display the name of the rider who triggered the SOS alert
**Driver Name:** Show the driver’s name assigned to the ride.
**Rider Number:** Show the rider’s registered phone number.
**Location:** Display the coordinates/address where the SOS was triggered — optionally show a map preview or link.
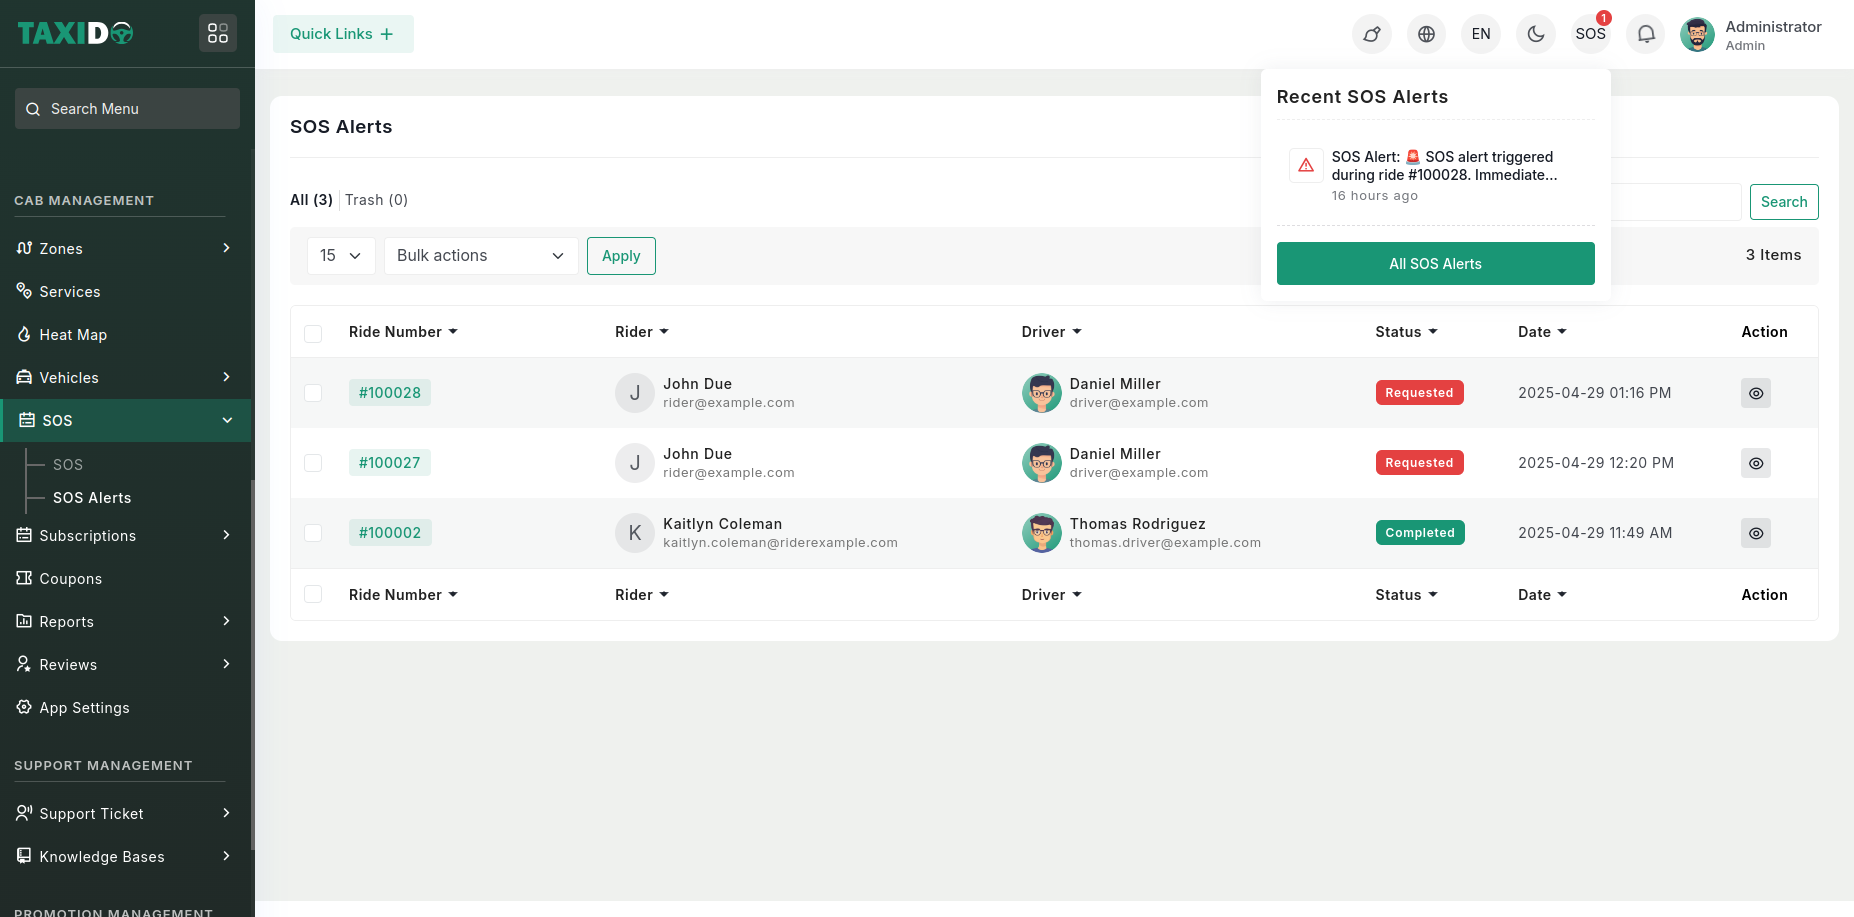
**SOS Header Button:** Show SOS icon in header with sos badge for new alerts.